Showing posts with label jewelry. Show all posts

Sunday, August 10, 2014

90's vibes

vibes4
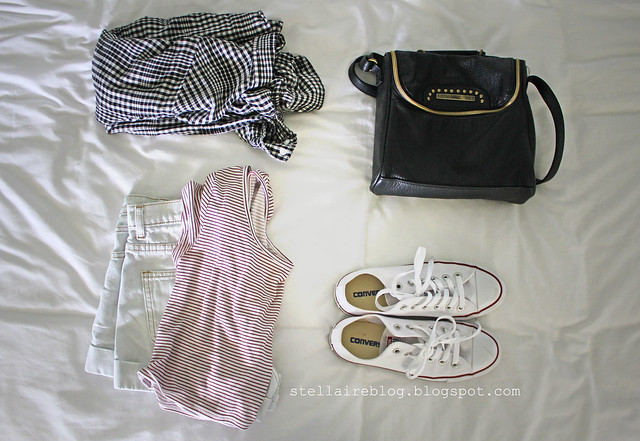
So I've noticed 90's styles have slowly been creeping back into fashion, and my feelings on this go back and forth. While there are some 90's trends that I think should stay in the past, I've started embracing the few that I do like.

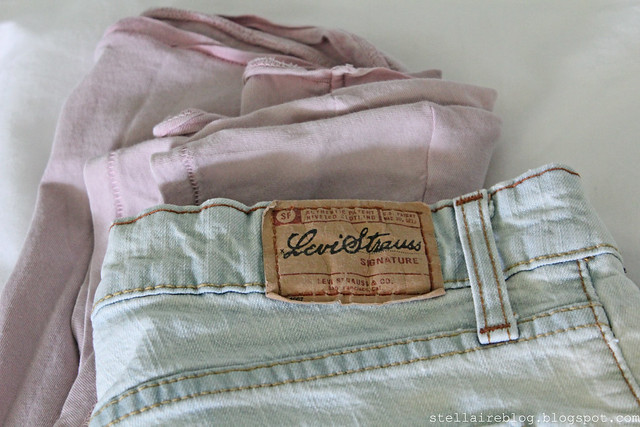
A while ago I came across a tutorial for a stretchy, choker necklace, Ă  la 1990's. I remember having so many of these when I was younger, so the nostalgia made me want to create a new one to wear now. I actually ended up loving it, and it inspired this entire 90's themed post. I made a video showing you the DIY choker, and some 90's beauty and fashion ideas to go along with it. I hope this provides some inspiration for bringing some of the 90's into a modern wardrobe.

90's style c3 levis summer

Monday, May 12, 2014

{diy} charm necklace & bookmark

bookmark
I looked at the stack of books on my nightstand the other day and decided they needed new bookmarks. I usually just use scraps of paper that I have lying around to save my page, but why not make something prettier?

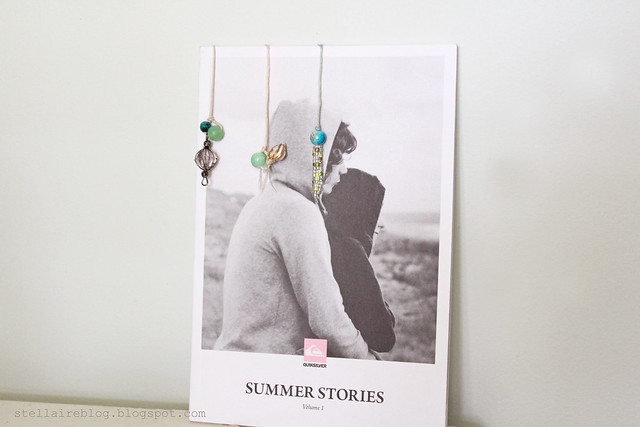
charm bookmarks
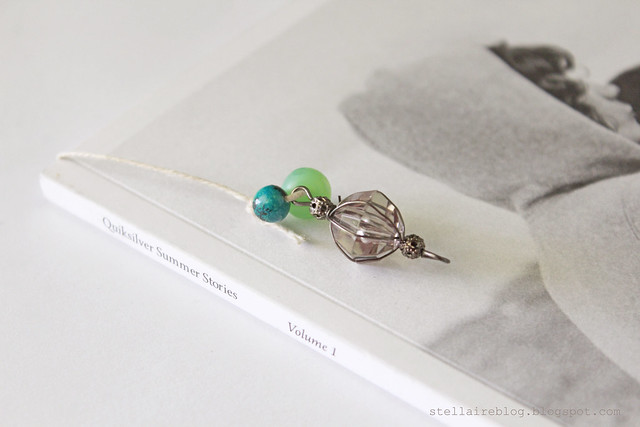
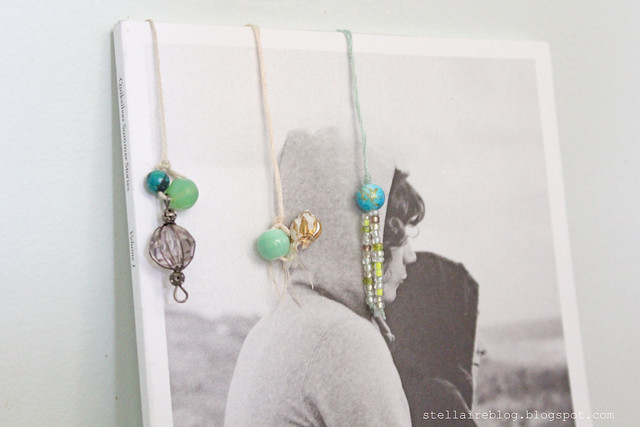
I came up with these simple charm bookmarks. The string goes between the pages and the charm hangs over the front.

supplies
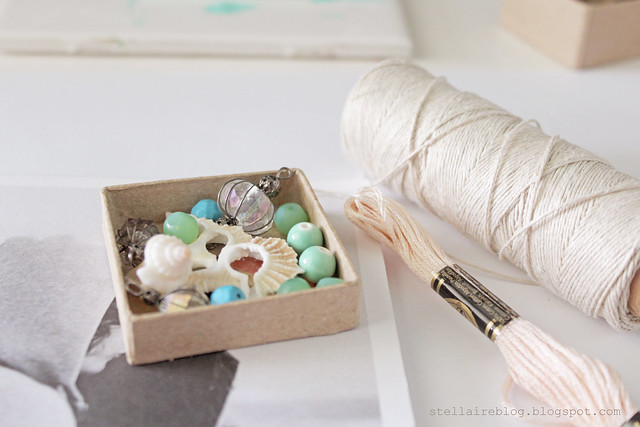
I looked through my bead collection and selected a few odds and ends that would look pretty clustered together.

painted seashell
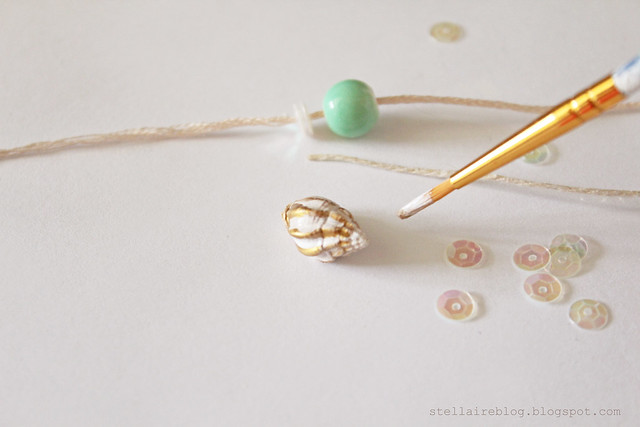
I gave this tiny seashell a coat of white paint and gilded the edges with gold.

charms
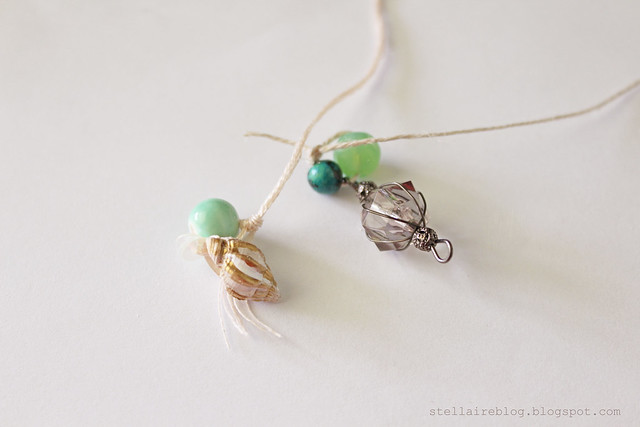
I put a few beads and charms on the end of a string and tied it together with a knot. There are so many different variations you could do with these, just by switching up the color string or the beads that you use!

beaded bookmark

beaded bookmarks

necklace
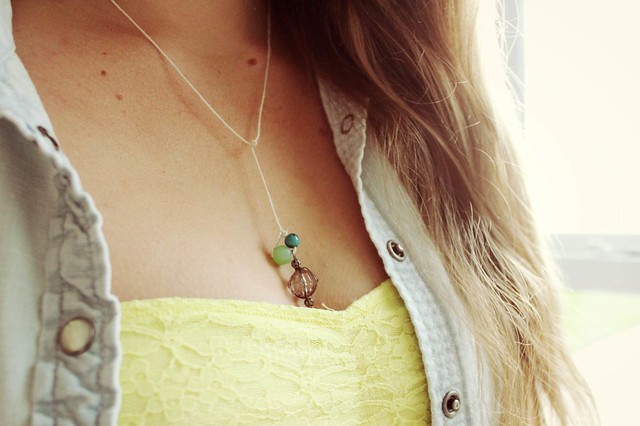
When I was finished, I thought these would look pretty as a necklace too! I brought the ends around and tied it into a drop-style necklace. To make it easily removable, just cut the back and add closures!

xoxo

Tuesday, April 1, 2014

paper bead bracelet {DIY}

stellaire bracelet
The past couple weeks have been a whirlwind of making and photographing and packaging jewelry and other crafty things to sell at an upcoming art festival! This paper bead bracelet is one of the pieces I'll be selling, and I thought I would do an updated tutorial on how to make the beads! (You can see my past tutorial here). It's actually simple enough that you don't really need a tutorial, but maybe these photos will inspire you to try this DIY!

magazines
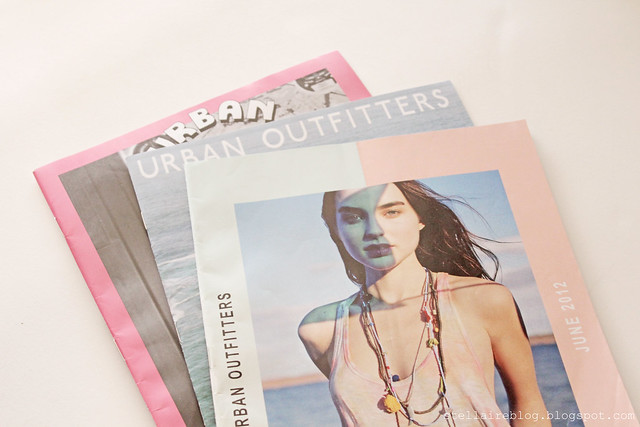
I have a stash of old clothing catalogs (and an abundance of UO ones for some reason), so I pulled out a few that had pretty colors.

supplies
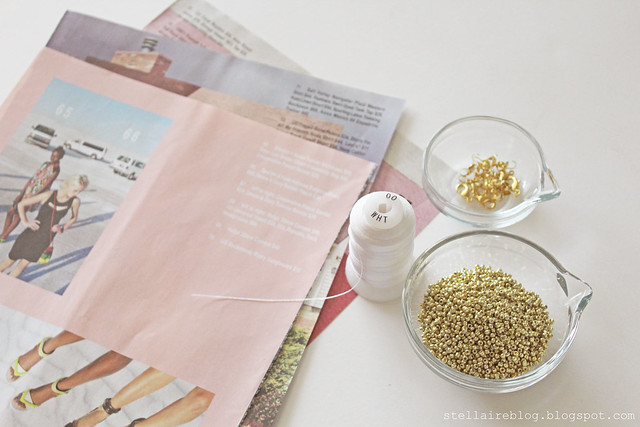
Tear out some pages for the beads, and gather together your other jewelry supplies.

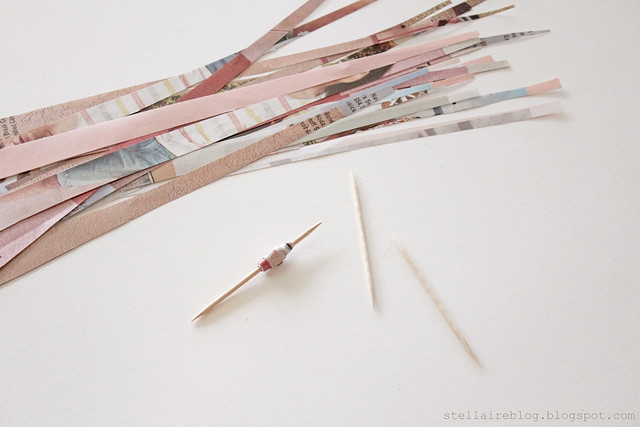
paper beads
Cut out thin triangles from the magazine pages. Mine were about 1/4inch wide, and I just free handed them (but you could create a triangle template to trace onto the the pages too). Spread a little glue along the paper strip, and roll it around a toothpick.

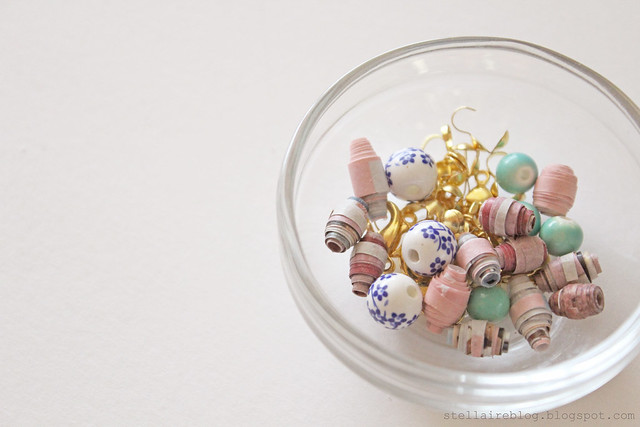
beads
I combined my paper beads with a few glass beads and gold accents.

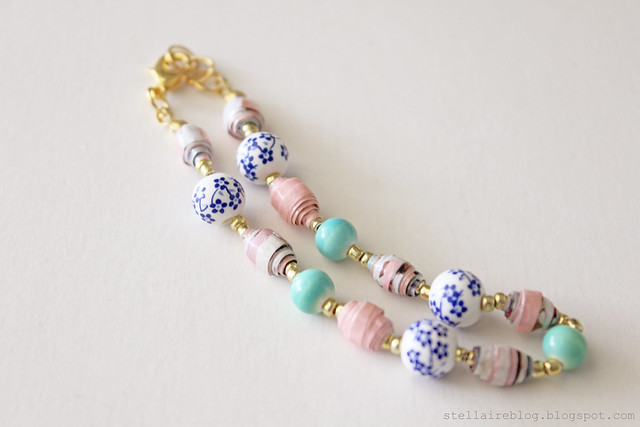
paper bead bracelet
I chose a simple lobster clasp closure for my bracelet, but you could thread your beads on elastic thread if you don't want to have to attach a closure!

If you're in the Tuscaloosa area, you should come out to Druid City Arts Festival on Saturday! I will be there all day! :)

Sunday, September 15, 2013

WIP: jewelry

jewelry and rose
Lately, I've been spending my free time making jewelry. I love beading because it's something I can just pick up and put down whenever I want to. Although, now my desk is covered in little seed beeds and jewelry findings so that makes it a little hard to do homework. And my roommates may or may not think I'm slightly crazy when I have my "glueing station" set up at the dining table with my E600 and little bits of wire and metal pieces. They haven't asked what I'm making, so I can only wonder what they think I'm up to.

making
I don't normally keep that rose in the middle of all my jewelry-making, I just thought it looked pretty.

flower kitty
And how could I resist using my little kitty as a photo prop?

I'm sad to see the weekend come to and end. My mom and brother came up to visit me, and it was really great seeing them. I have a few more things to do before the day comes to an end though; ballroom dancing lessons, dinner with my roommate (who's been at home the past few days), and a little studying.

I hope everyone has a wonderful week! ♥

Wednesday, May 22, 2013

graduation gift

grad gift
I'm graduating tomorrow! It still doesn't feel real yet. I don't think it will feel real until I'm actually living on a college campus in the fall. Anyway, I made my two closest friends  a gift and gave it to them today (so I can finally show you guys the blog post without worrying they'll see it!)

bracelet closeup
I made several things to give to them. First, I made them each a macrame bracelet with hemp and pretty beads.

clothespins and mixtape
Then, I created a mixtape with some music I think they'll like (luckily we all share the same taste in music!) and a set of decorated clothespins that they can use to hang things up in their dorm room.

books
The main part of the gift was a notebook/scrapbook that I put together for each of them.

book cover
I found some pretty notebooks at Target that were perfect for decorating.

drink the wild air
I had some photos printed and put them on the pages of the notebook, along with quotes, song lyrics, memories, etc...

macrame bracelet
This is how I wrapped up the bracelet; a glassine bag closed with washi tape and pale blue embroidery floss.

They loved the gifts, and I'm trying to save my tears for when we really do leave each other. We're all going to different colleges, and we'll be about 3 hours apart. Even though I am super excited about going to college, I'm going to miss Loli and Allison so so much!

Tuesday, August 14, 2012

beachy shell anklet DIY

I love the beach more than anything. I would be happy spending the rest of my life by the ocean. Unfortunately, I don't have the luxury of living super close to the coast (hour and a half away at the least), so my beach trips are limited to the occasional drive to Florida or visting my family in Virginia Beach. I decided to try to bring a little bit of the beach to my everyday life by making this shell anklet.

You'll just need to gather a few things; some twine, a few small shells, and some beads that look like sea glass (unless you're lucky enough to have some real sea glass). I have a huge collection of shells that I've accumulated during all my beach visits, but if you don't have any, you can order some online or go buy some in a shell shop.

 So in order to string the shells on the twine, they need holes. I did not want to have to deal with figuring out how to use a drill, (and I think my shells are too tiny to use a drill on) so I came up with my own method. Use a flat headed pin and hammer it through the shell. If you try to use anything much bigger than a pin (like a nail) on such a small shell, the shell will most likely shatter.

To make the hole big enough to put the twine through, twist an exacto knife around the hole, slowly shaving off the edges until you get it the size you want.

To make the bracelet, cut three strands of twine long enough to go around you ankle and be tied. Start braiding them and add beads and shells as you go along.

When you're finished, tie the end in a knot, leaving a few inches of twine on both sides so you can tie it around your ankle.

Now you have a little part of the beach to keep with you everywhere you go! Time to go dream about cool, ocean, breezes and catching the perfect wave... ♥

Thursday, July 5, 2012

national winners and a clay craft

So remember that business trip I told you about last week? Well, I'm not some CEO for a major corporation or anything (as I am only in high school), the trip was actually for a school organization I'm in called FBLA, or Future Buisiness Leaders of America (and I'm also the newly elected vice president for FBLA at my school!). I was competing in desktop publishing category and made it past the regional and state levels, so I got to attend this National Leadership Conference. Here, I had to attend workshops, meetings, socials, and my competition. I competed once more to try to place in the top ten in the nation, and I did it! (Well, me and my team member did it!) We made ninth place! I am beyond excited about it!

ps. Incase you don't know what desktop publishing is, it's basically like graphic design. You create documents, like fliers, brochures, advertisements, etc..., for companies.

So, to celebrate, I made a craft tutorial! It has absolutely nothing to do with FBLA/desktop publishing, it's just a fun craft to do!

You will need clay, a circle template, an exacto knife, and something to poke holes with (haha, I don't know what this tool is called). I used paperclay, which is air-dry clay, but you could use sculpey too and bake it instead.

Using your hands, press out the clay so it's a thin sheet (1/8th to 1/4th inch thickness if you must be exact). I didn't want mine perfectly smooth (I like the handmade look) but you could roll it out if you want it all even. Use your template to cut out circles from the clay. (Or another shape if you choose)

You can smooth out the edges or leave them if you want. I like the rough edges (again with the handmade look) so I left them.

If you want to make tags, poke a hole in only the top. If you want to make a bracelet, make two holes across from each other.

Make lots and let them dry. It's been so hot here (90°-100°!) that I set them outside for a couple hours while I was out by the pool and they dried really fast.

Then paint them!

Use them as tags to tie around a package to make it pretty!

I made this bracelet by painting them a light blue and writing quotes wth a pen. I put gold glitter on the edges. Tie each of the pieces together with elastic string.

Have fun! ♥

Sunday, December 11, 2011

diy bead bow

Christmas is coming up soon and that means lots of gift wrapping to be done! I really enjoy wrapping gifts and finding unique was to make them look really pretty. So today I'm sharing a tutorial for making this bow to decorate gifts with!

You could also make this bow into a necklace or brooch and give it as a gift!

You'll need seed beads and wire. The wire I used was 28 gauge, which was the perfect size to fit the beads. If the wire was any thicker I don't think the seed beads would fit. Pliers would help, but you don't have to have them to make this.

Start with a piece of wire about 8 inches long. Measurements don't have to be exact, it just depends on how big you want your bow. Fill the wire with beads. (Fold one end over so the beads don't slide off).


When it's completely filled up (leave a small space at the top), form it into a circle and twist the ends together.

Squeeze it together and use the twisted wire ends to wrap around the middle.

Shape it into a bow.

Then take a smaller piece of wire (about 3.5 inches) and fill it up with beads. Wrap it around the middle of the bow and twist the ends together in the back so it holds together.

Et voilĂ !  Your bead bow is finished!